I’ve put on many different types of muzzle devices in my time, and with different mounting options as well. In fact, almost all of my rifles, even AR pistols, have a muzzle device of some kind installed.
Here’s a guide for installing your own muzzle device. Including all the mounting options available, preferred methods for different types of muzzle devices, and tips I’ve gathered over the years.
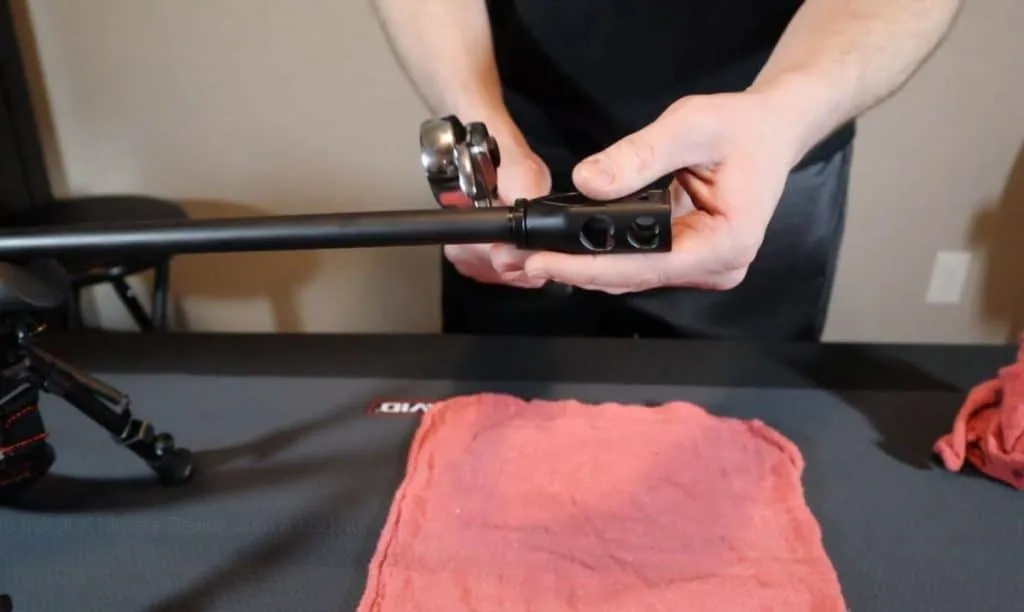
Muzzle Device Types
First lets quickly cover the muzzle device types and their preferred mounting options. The type of muzzle device you’re installing could affect your mounting method and which steps to follow below.
I have a full article with all the details of the Different Types Of Muzzle Devices here, in case you want more info.
Muzzle device types and preferred install method:
- Muzzle Break – Jam nut or lock nut
- Compensator – Crush washer or peel washer
- Flash Hider – Crush washer, peel washer
- Combination – Jam nut or lock nut, crush washer, peel washer, shims
- Suppressor – Peel washer, shims, or direct install
- Barrel Shroud – Any
Those are just my preferred methods for installing those muzzle devices, and you’ll see why below. However, for the most part, you can choose whatever mounting method works best for you.
Except with suppressors, those can not be mounted with a crush washer.
Note: Most muzzle devices come with the required hardware for one of these mounting methods. I would just go with that option if your device is intended to be used that way.
Muzzle Device Mounting Options
Most muzzle devices are threaded onto the end of a barrel, with the device being female threads and the barrel being male threaded. Also, many muzzle devices must be timed to work properly.
Muzzle Device Installation Methods:
- Install A Muzzle Device With Thread Locker
- Install A Muzzle Device Directly Onto Barrel
- Install A Muzzle Device With A Jam Nut Or Lock Nut
- Install A Muzzle Device With A Crush Washer
- Install A Muzzle Device With A Peel Washer
- Install A Muzzle Device With Shims
- Permanently Affixed Muzzle Devices
- Quick Attach Muzzle Devices
The steps for each of these methods can be found below. I just need to quickly explain timing, torque, and threads first.
Ensure Barrel And Device Threads Match
Some muzzle devices are permanently affixed to the barrel, which we’ll talk more about later. But the point is, you need to make sure the threads on the device match the barrel threads.
If your barrel does not have threads, you can mail it in to a number of companies that will thread a barrel for you, or you can do this yourself with a threading die set.
If your barrel threads don’t match your muzzle device threads, they do make thread adapters, but I would suggest just getting a device that matches your barrel threads in the first place.
Timing A Muzzle Device
Some muzzle devices will be manufactured and designed to a specific orientation on the barrel to work properly.
A good example is a muzzle break with ports facing to the sides. If those ports are angled, it will pull the barrel in undesired directions when firing.
Lining up the muzzle device in the correct orientation is called timing. Keep that in mind while reading through the steps below. Proper timing can be achieved with most of the installation methods below.
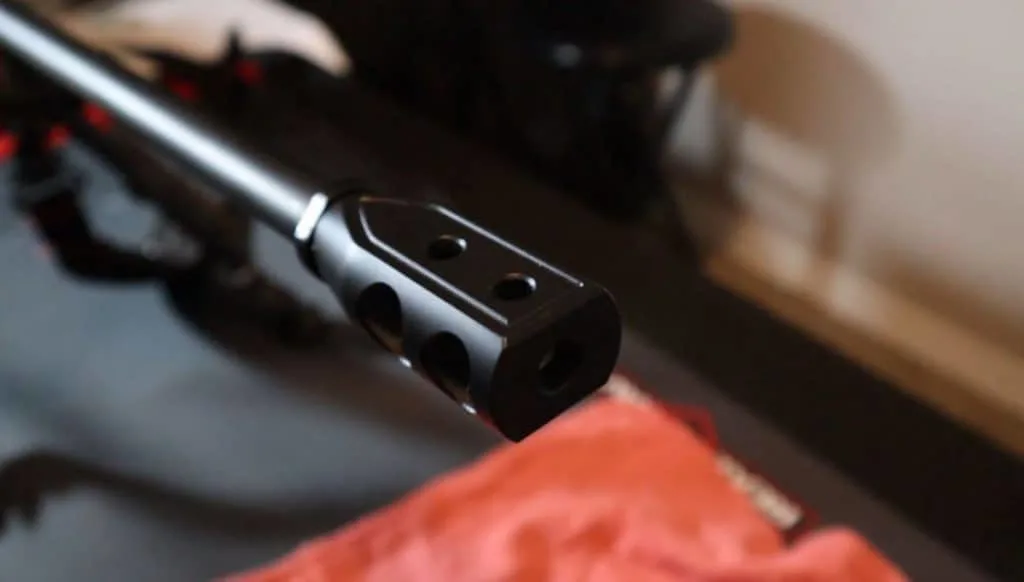
Muzzle Device Torque
A muzzle device will generally be installed at 15 – 20 foot pounds of torque for any of the various installation methods. I set my torque wrench to 19 foot pounds so with the plus or minus 1 variation in the torque wrench, I am always in between 18 – 20 foot pounds of torque.
If the manufacturer of your muzzle device requires a specific torque for your device, use that instead. I have never seen a muzzle device requiring higher than 30 foot pounds and exceeding the torque value could damage your threads.
If you don’t have a torque wrench:
I’ve had good luck just hand tightening the device to a quarter turn away from being timed properly, then wrench tightening the rest of the way. Of course, torqueing properly is preferred, but this option works out for the most part.
Install A Muzzle Device With Thread Locker
Installing a muzzle device with thread locker or any thread locking compound is not recommended. Thread locking compound is removed by being heated. The heat created when firing the gun is enough to loosen most thread locking compounds.
You could argue that a high heat thread lock would work better, but either way, barrels get hot and thread locker gets loose. People still use this method though, so I wanted to mention it here.
This will only work on muzzle devices that don’t need to be timed. If your muzzle device needs to be timed, use another method.
- Apply some thread locker to barrel threads
- Thread on muzzle device
- Tighten muzzle device to barrel at 15 – 20 ft lbs
- Let thread locker dry overnight
Again, if at all possible, please use a different install method. There are plenty options below that aren’t all that difficult to do.
Install A Muzzle Device Directly Onto The Barrel
Installing a muzzle device without a jam nut, crush washer, peel washer or any other mounting hardware is only possible on devices that do not need to be timed.
Some compensators fall into this category as well as most suppressors.
This is the most ideal way to mount a muzzle device because there is no chance of coaxial misalignment. For that reason, it’s the preferred method for suppressors.
Coaxial misalignment is just when a muzzle device is angled a tiny bit on the barrel. It’s such a small amount that you’ll probably never notice it except with longer devices like suppressors which can get baffle strikes if they aren’t aligned properly.
Install A Muzzle Device With A Jam Nut Or Lock Nut
This is one of my favorite muzzle device install methods. It’s easy to do, straight forward process, and just makes sense to me. Not to mention you don’t risk any weird offset like you do with a crush washer.
The idea behind using a lock nut, sometimes referred to as a jam nut, is that you are tightening the lock nut into the device. This pushes the devices and barrels threads into one another creating a tight and secure install.
First, thread the lock nut all the way onto to the barrels threads.
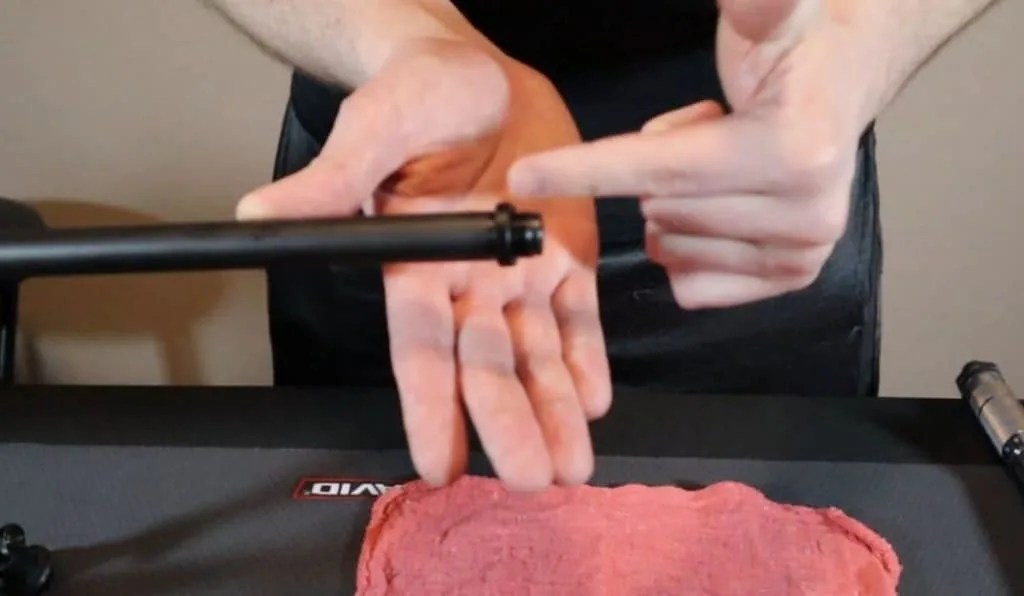
Next, thread the muzzle device all the way onto the barrels threads until it makes contact with the lock nut.
Then, back the muzzle device off until lined up and timed correctly.
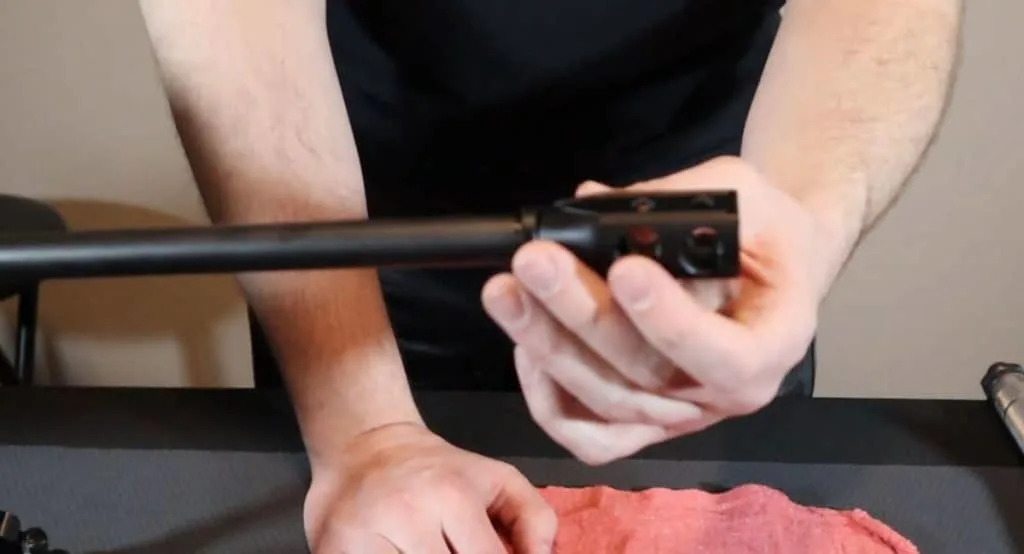
You can then unscrew the lock nut by hand until it pressing into the muzzle device.
Use a torque wrench to push the lock nut into the muzzle device at 15 – 20 ft lbs. You may need to hold the muzzle device in place to keep accurate timing.
You are unscrewing the locknut down the barrel, pressing it into the muzzle device at this point.
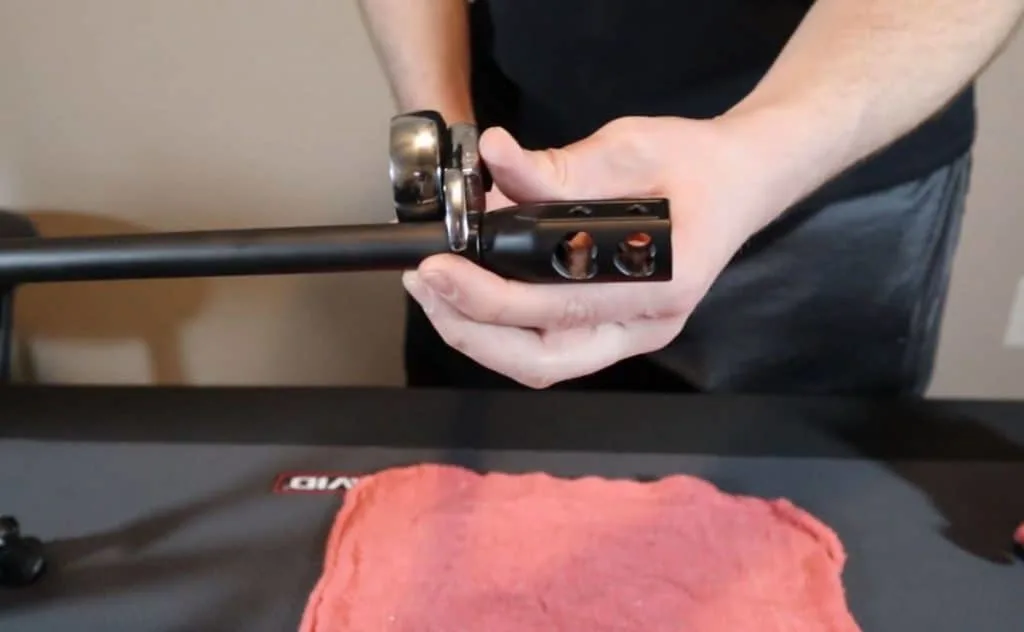
If you don’t have a torque wrench, just go about a 1/4 turn with a wrench. Until you feel comfortable that the device is secured.
Besides using a crush washer, this is the fastest most straight forward way to mount a muzzle device. It’s my first choice and go-to install method, of course not all muzzle devices can be installed this way.
This only works if you have the thread space on your barrel and you can access the lock nut easily. For example, a barrel shroud covers the threads and portion of the barrel, and you couldn’t use this method.
Hand guards that extend over the barrel threads slightly may also prevent you from being able to use this method.
Here’s a video walk-through showing how to install a muzzle device with a lock nut.
Install A Muzzle Device With A Crush Washer
Installing a muzzle device with a crush washer may be the most popular muzzle device install method. Most rifles that come off the shelf with an attached muzzle device will be installed with a crush washer.
The idea is that the crush washer acts as sort of a spring. So when the crush washer gets depressed into the barrel, it is pushing back on the muzzle device.
This push back forces the devices threads and barrels threads into each other creating a tight and secure install.
Crush washers can only be used on barrels that have a thread diameter smaller than the barrel diameter. The crush washer needs a shelf to press into as it’s being crushed.
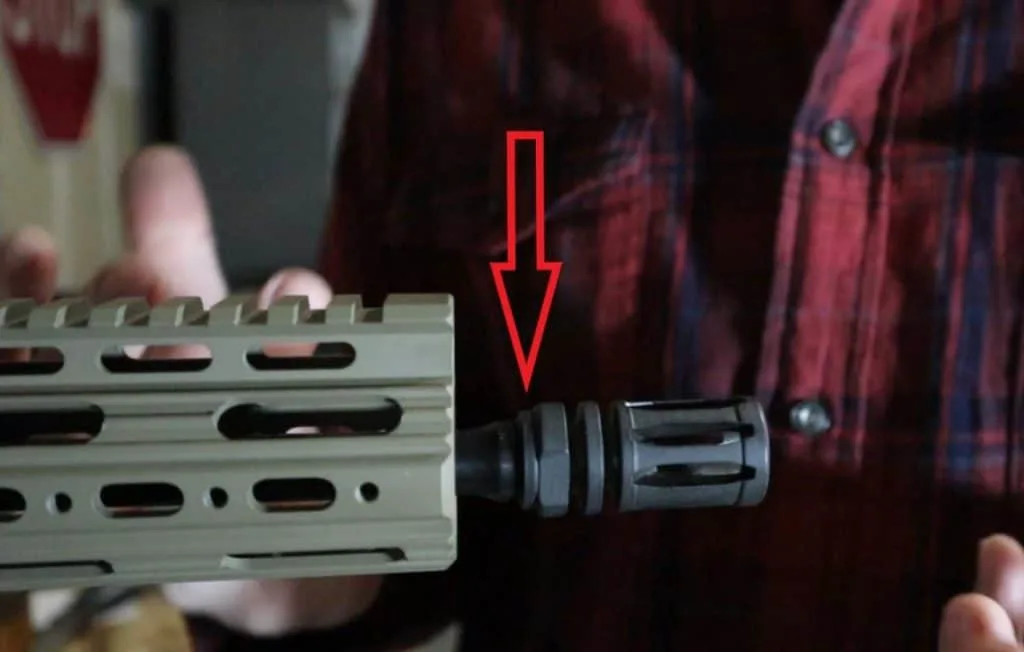
- Place the crush washer onto the barrel threads with the open end of the cone facing the device
- The narrow end of the cone should be facing the barrel
- Thread the muzzle device onto the barrel and up against the crush washer hand tight
- Wrench tighten the muzzle device into the crush washer about a quarter turn
- If your muzzle device has a specific orientation (needs to be timed) you will continue to tighten the device until timed
- Pre-crushing may be needed if more than half a turn is required
- Pre-crushing is easy to do, can be done at this point, and the steps are below
Note: Crush washers are a one time use item. It is not recommended to reuse crush washers.
For that reason, if you accidentally thread the device too far onto the barrel (passed correct timing) the washer loses its springy properties and must be replaced. You need to tighten the device to exact timing and stop.
Pre-Crushing A Crush Washer
For muzzle devices that need to be timed you’ll need to do what’s called pre-crushing the washer. It’s easier that it sounds since you’re not actually doing anything different ahead of time.
You followed the steps above to install a crush washer, and your device isn’t timed correctly. Just tighten the device another half turn and back off a quarter turn. Repeat until your device is timed correctly.
Make sure that your last tightening turn is the one that lines your device up correctly, and then leave it there. If you back off from correct timing, you’ll need to replace the crush washer.
Here’s a step by step walk-through video showing how to install a muzzle device with a crush washer:
Install A Muzzle Device With A Peel Washer
A peel washer is made of thin strips of metal that have been laminated or pressed together. These strips of metal can removed with a razor blade or other thin tool to get the exact washer size required to time a muzzle device correctly.
Steps for installing a muzzle device with a peel washer:
- Place the peel washer on the barrel threads
- Tighten the muzzle device onto the barrel threads (hand tight) pushing the peel washer against the barrel
- Tighten the muzzle device to 15 – 20 ft lbs of torque
- Determine how many strips of metal need to be removed from the peel washer for the device to line up with correct timing on the barrel
- Remove strips of metal from the peel washer and install again
You may need to repeat this removing strips and trying again process a few times and it can be a bit of a pain. Once you can tighten your device to 15 – 20 ft lbs and it’s timed correctly, you’re good to go.
Install A Muzzle Device With Shims
Shims are thin strips of metal and usually come with multiple in a pack. You would use as many shims that are required to ensure your muzzle device is timed correctly after being torqued to the right specifications.
This may involve affixing your muzzle device, torqueing it down, checking its timing, and adding or removing shims as needed.
The process is similar to using a peel washer, except you will likely be adding this strips of metal rather than removing.
Permanently Affixed Muzzle Devices
Permanently affixed muzzle devices are installed in a way that makes them not readily or easily removed. This is done in cases where someone is trying to make their barrel a certain length to meet some law or requirement.
Since a permanently attached muzzle device is considered part of the barrel length. For example, shooters will permanently attach a 2″ muzzle device onto a 14.5″ barrel to make the barrel over 16″ to comply with laws and regulations.
There’s a few ways to go about this. I would suggest welding, blind pinning, or using 1200 degree Fahrenheit silver solder to permanently attach a muzzle device.
Quick Attach Muzzle Devices
This is mostly seen on suppressors where they have a quick attach/detach feature. The suppressor will slide over another muzzle device that it was designed to attach to, and you would simply slide a lever (or similar) to secure it.
The muzzle device the suppressor attaches to will be installed using one of the methods above, except the crush washer method. Usually the shims method is preferred.
This is because a crush washer can very slightly angle the muzzle device. We’re talking a millimeter or something. Which is fine for most muzzle devices, but with the length of suppressors, it can cause baffle strikes that could damage a suppressor.
