
After a long day of shooting, or even if I shoot under 100 rounds, I like to clean my firearms before they go back into storage. Leaving the carbon and metal fouling in the firearm could cause damage over time if left that way.
After years and years of cleaning and working on firearms, I’ve found these steps get the job done in about 15 minutes. Let me show you exactly what I do to keep my weapons clean and functioning properly.

Prepare A Space To Clean The Handgun
I like to lay a towel down or use a cleaning mat to protect whatever surface I plan on cleaning my gun on. Lately I’ve been using a mat with pockets or depressions in it because it holds parts nicely during disassembly.
Grab the proper tools and equipment needed to clean the handgun. Consider using a pair of nitrile gloves if you’re allergic to any gun cleaners or just don’t want to get your hands dirty.
Here’s a list of recommended items for cleaning:
- Brass cleaning rod
- Brass bore brush
- Toothbrush or cleaning brush
- Cleaning pick or scraper (plastic)
- Cleaning patches
- Cotton swabs (optional)
- Gun cleaner (bore cleaner, general cleaner)
- Gun oil or lubricant
- Bore snake (optional)
- Rags
For a complete list of everything I use, check out the Best Gear To Clean And Lubricate A Firearm article on this site.
Here’s a video where I clean a Beretta 9mm showing the whole process from start to finish. Step by step instructions with pictures below.
Unload The Firearm
Remove the magazine and make sure the gun is not loaded.
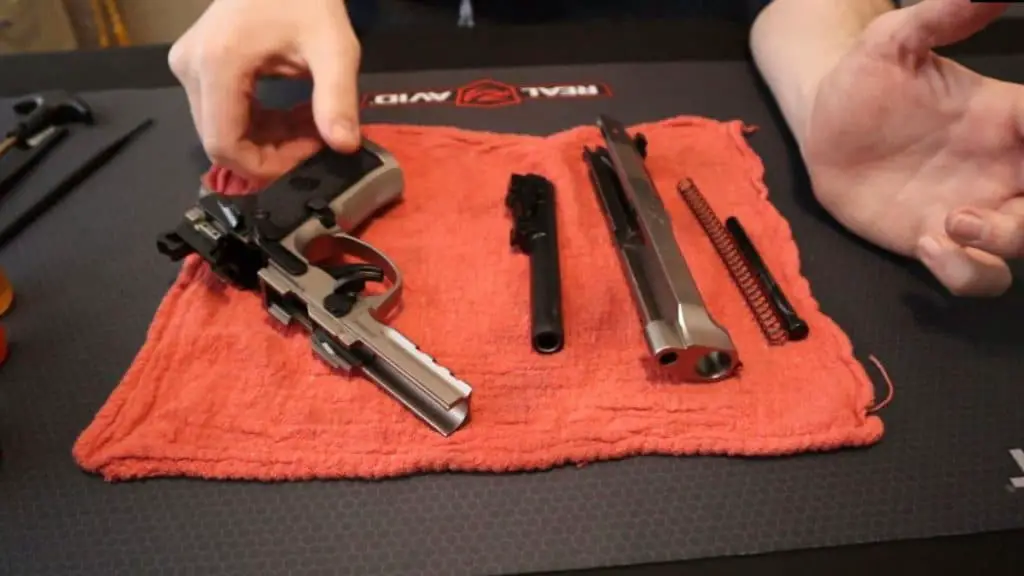
Disassemble The Firearm
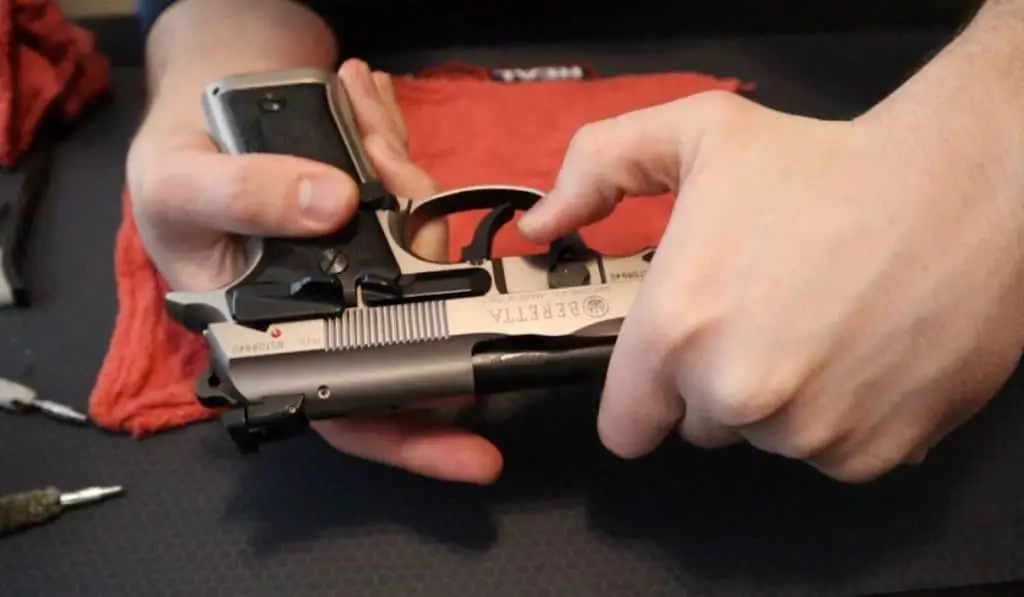
Basic disassembly of the firearm isn’t too difficult to do. After making sure the gun is unloaded. Simply pull back on the slide and disengage the take down.
The take down is typically released by a button on one side of the gun and a lever on the other side.
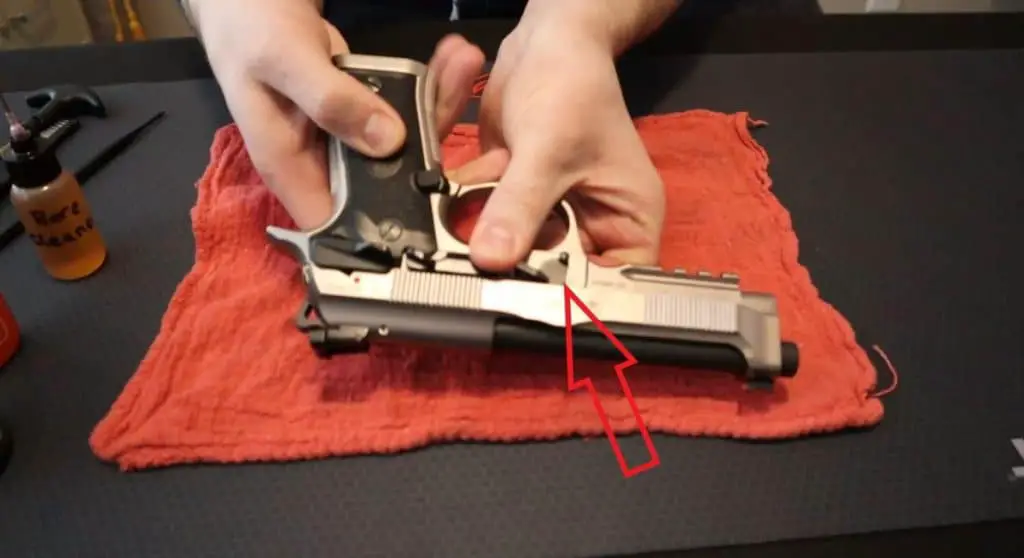
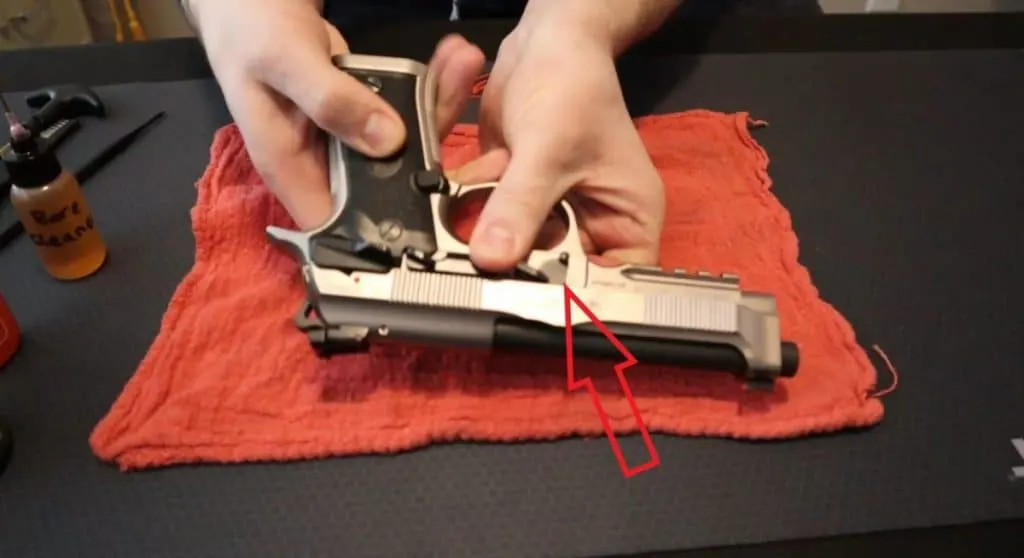
The slide will then be easily pulled off the front of the receiver or frame of the handgun.
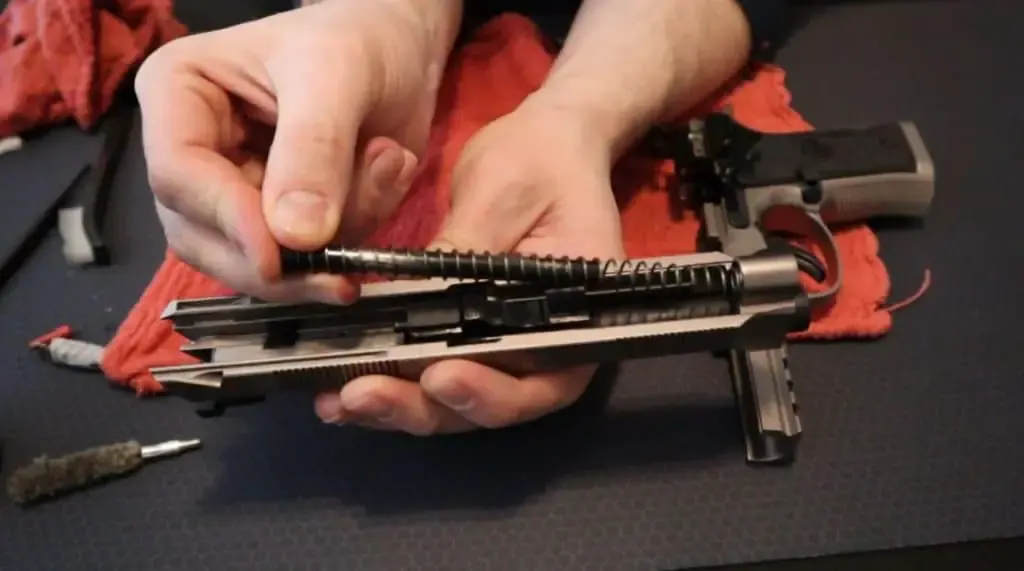
Next, remove the guide rod and recoil spring from the slide. Keep a hold on it because it will pop out as soon as you pull it over the ledge it’s sitting on.
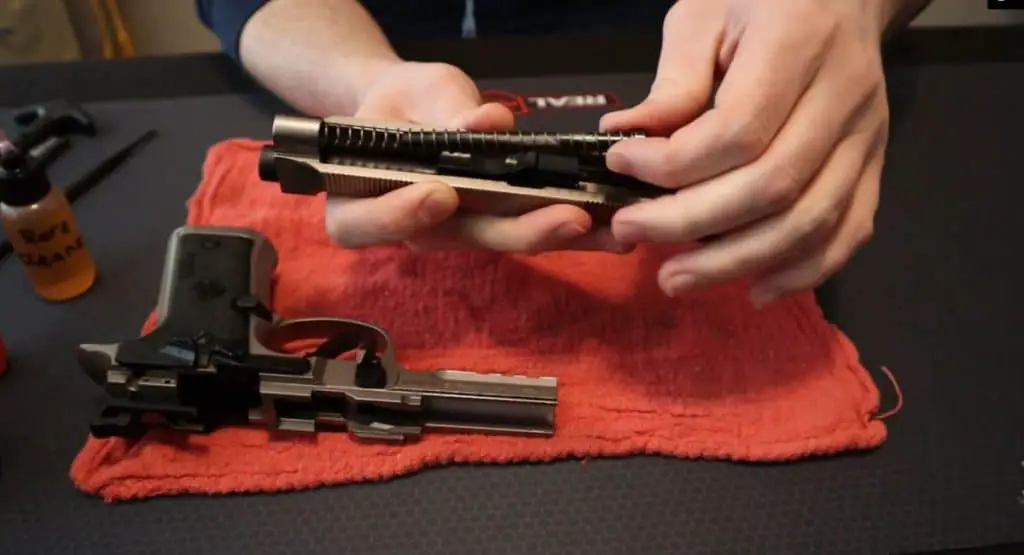

Then you can pop the barrel out of the slide by pushing in the locking block plunger and lifting up from the bottom or pulling the barrel up and out of the slide.
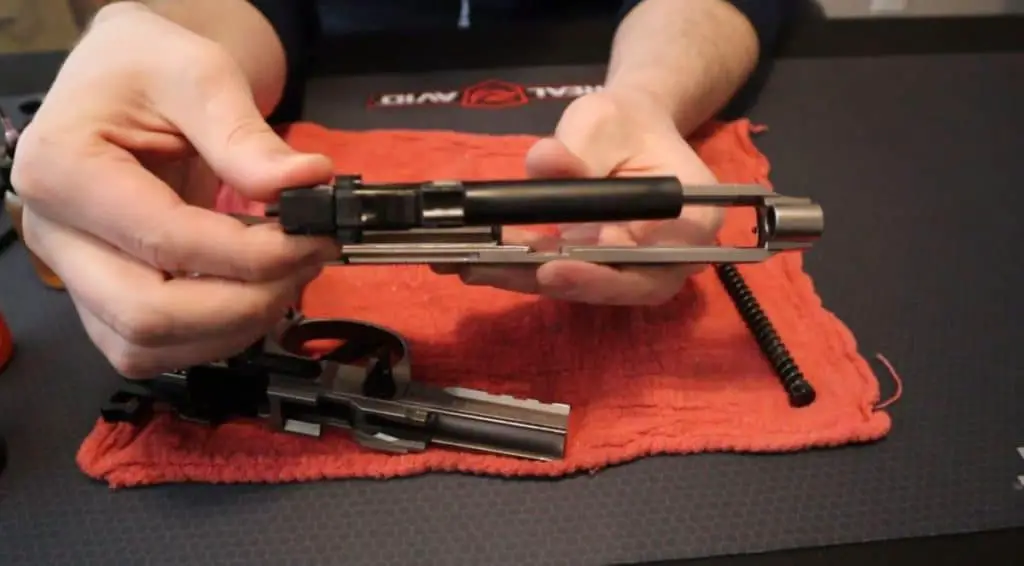

That’s it for disassembly. You can go further but it’s not typically needed to keep the handgun clean and operating properly.
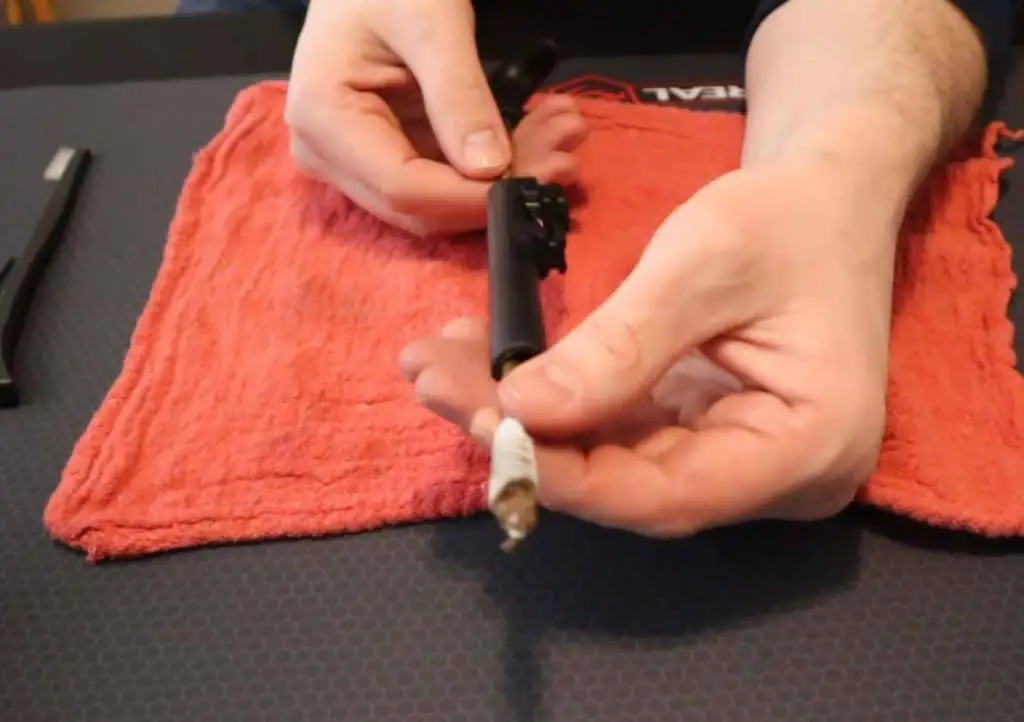
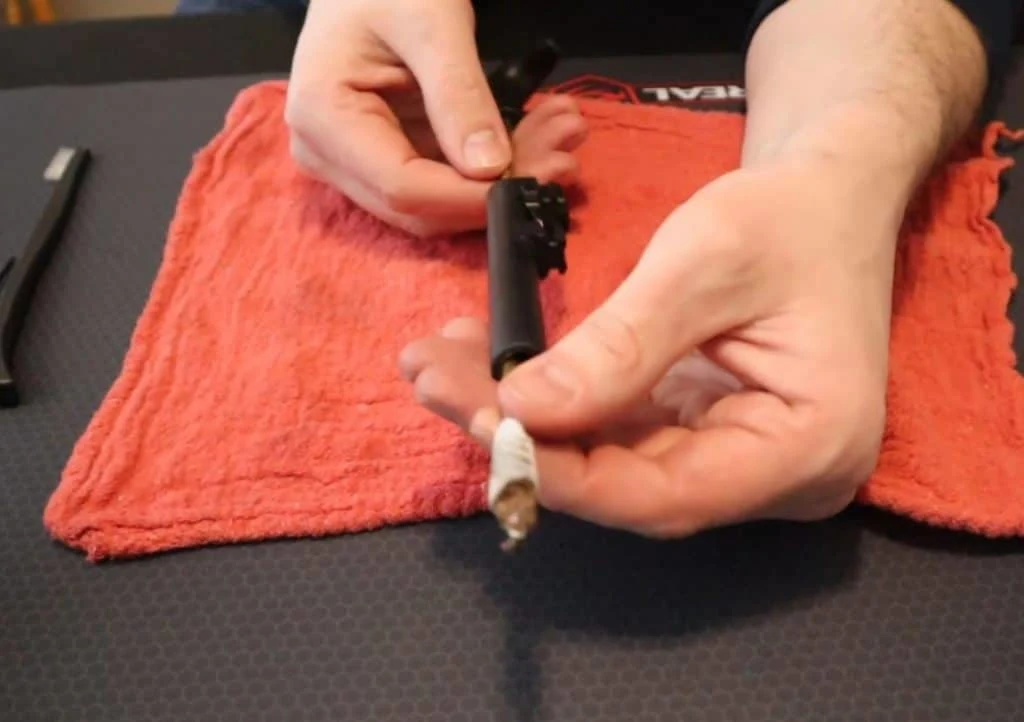
Quick Pass Through The Barrel
I don’t typically clean the barrel first, but I do run a patch and some bore cleaner through it once or twice to start.
That way, while I’m cleaning the rest of the gun, the cleaner is in that barrel breaking down all the carbon and build up that’s in there.
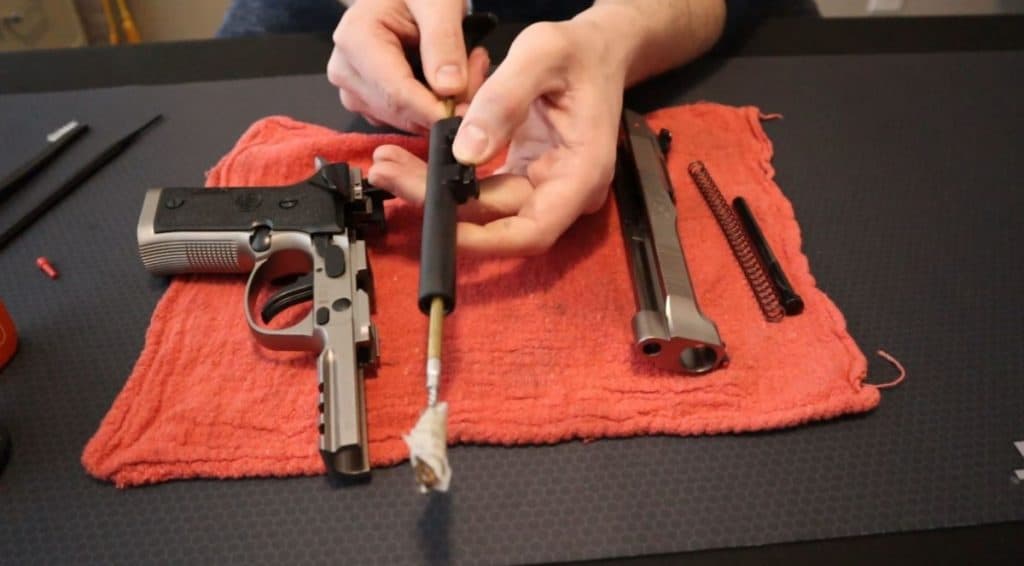
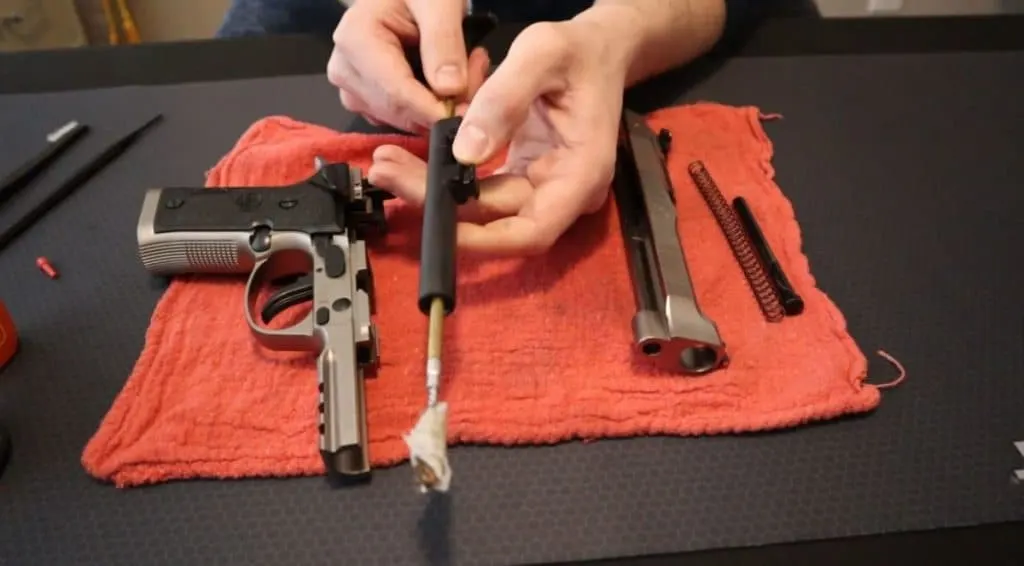
Use a cleaning rod with a bore brush that has a patch around it soaked in bore cleaner. Push that through the barrel in the direction that a round would be fired through the barrel.
Now let that cleaner sit in the barrel for now and move onto the slide.
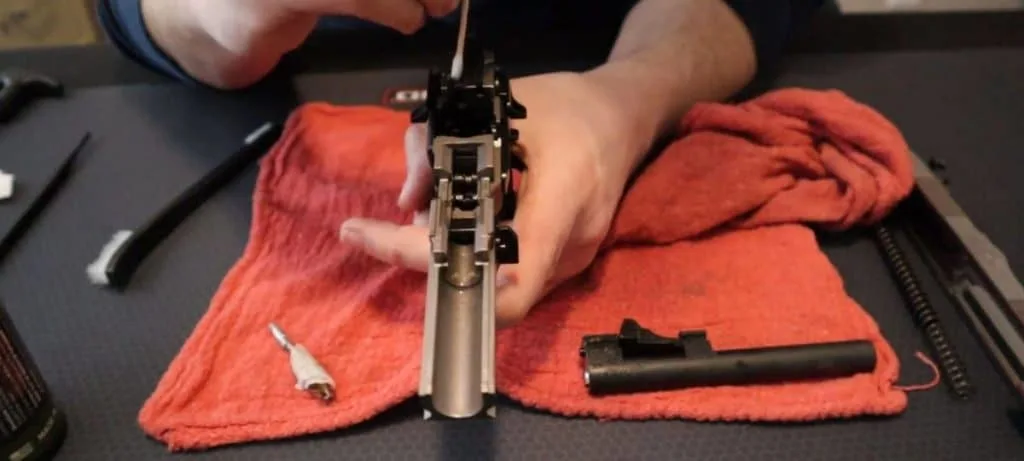
Brush And Clean The Slide
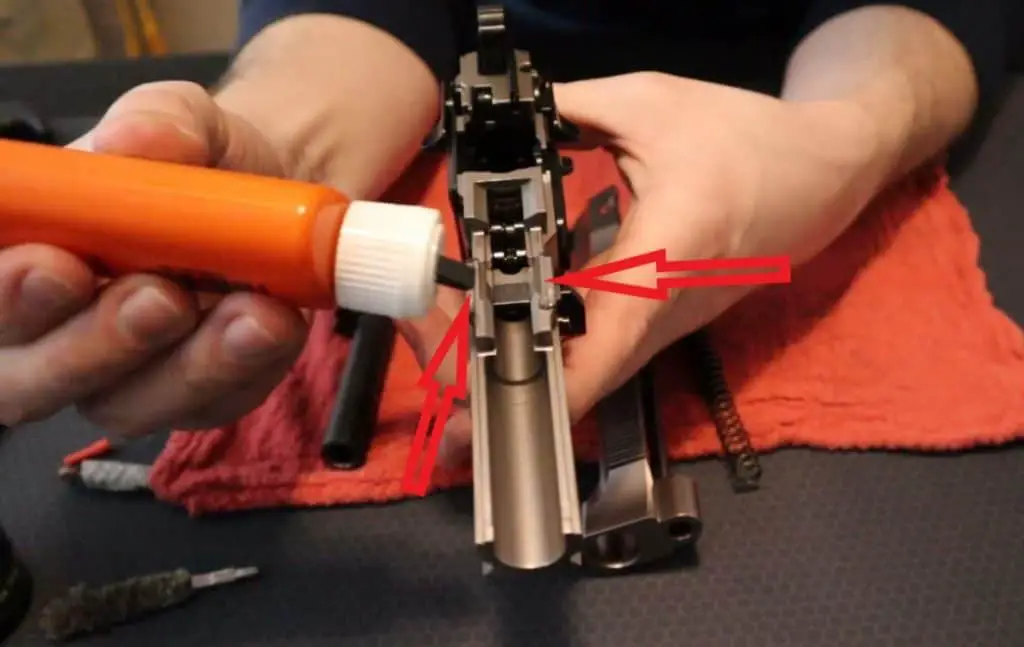
With the bolt face facing down, spray cleaner inside the slide. The reason to keep the bolt face facing down is to prevent any gunk getting into the firing pin area on the slide.


I don’t just spray a little cleaner either, I soak the slide with cleaner. Everywhere you see carbon, needs to get cleaner on it.
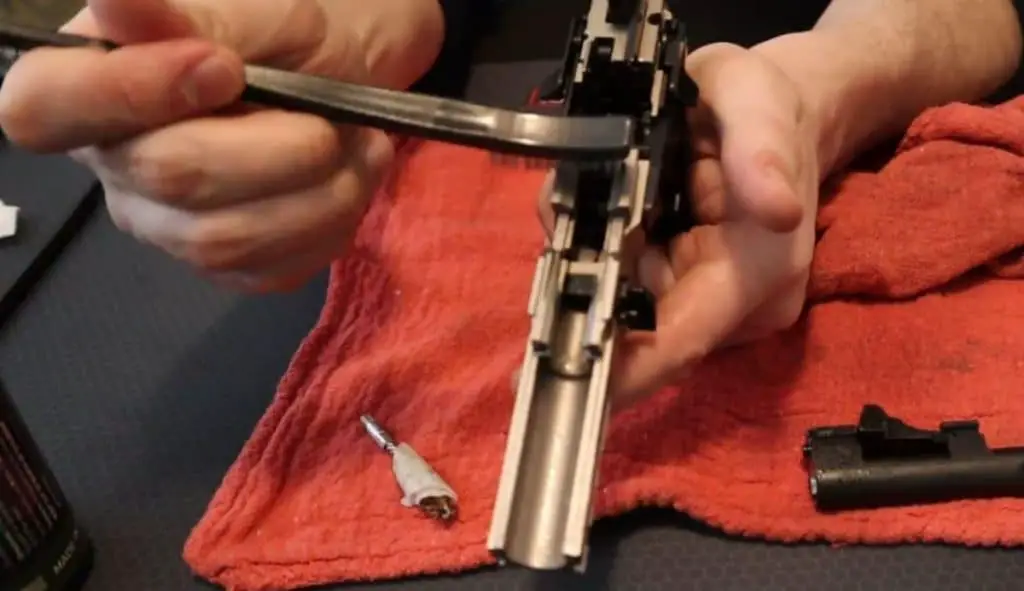
Take a brush, even a toothbrush will work, and scrub all that carbon off. After you’ve brushed up some of that gunk, wipe it away with a rag.

Repeat this process until the rag comes away relatively clean:
- Spray with cleaner
- Scrub with brush
- Wipe with rag
Clean Slide With Cleaning Pick And Patch
There’s going to be areas that the brush can’t fully clean by itself. In this case, I like to take a cleaning pick or scraper tool with a patch. This is especially important for the under the extractor.
I use a polymer cleaning pick myself. Metal cleaning picks can work, just make sure it’s a soft metal or you risk scratching the finish of your firearm.
Get some cleaner on a patch, and by using the cleaning pick, scrape that patch around the bolt face taking extra care to get any gunk out from under the extractor.


This process works well for other areas that a brush can’t fully clean by itself. Again, do this until the patch comes away fairly clean.
Cleaning The Guide Rod And Recoil Spring
The guide rod and recoil spring can usually be cleaned by just wiping them down with a rag that has some gun oil on it. It’s good that they are oiled up anyway.
If you see any baked on carbon deposits, make sure to get that up with the cleaner and a brush. But that’s pretty rare. I usually get away with just wiping these parts down with some oil.
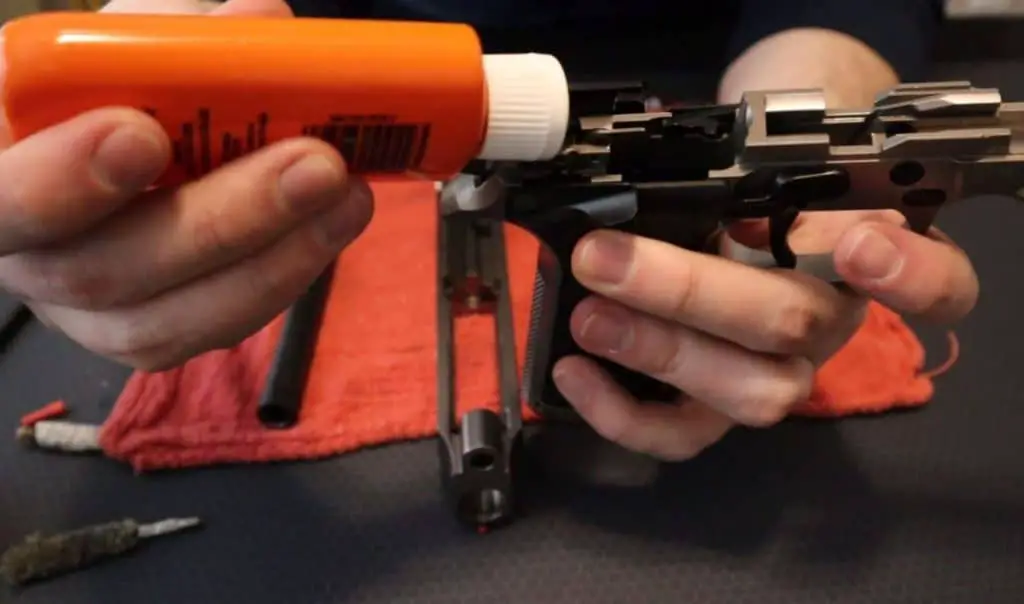
Cleaning The Frame Of A Handgun
Cleaning the lower or frame is very similar to cleaning the slide. You want to spray cleaner on it, brush up any gunk, and repeat until a rag is wiped away clean.
It’s not necessary to spray a ton of cleaner into the rear of the frame where the hammer rests. A cotton swab comes in handy for those hard to reach areas. Get some cleaner on a cotton swab and use it to clean some of those areas.
Alternatively, you could also use a cleaning pick and patch to get to some of those hard to reach areas as well.

You’ll typically see the most carbon build up where the locking block rests on the lower frame, right in front of the magazine well. Spray some cleaner and brush that area until a rag is wiped away clean.

Don’t forget about the patch and scraper tool (cleaning pick) for those hard to reach areas. It really comes in very handy.
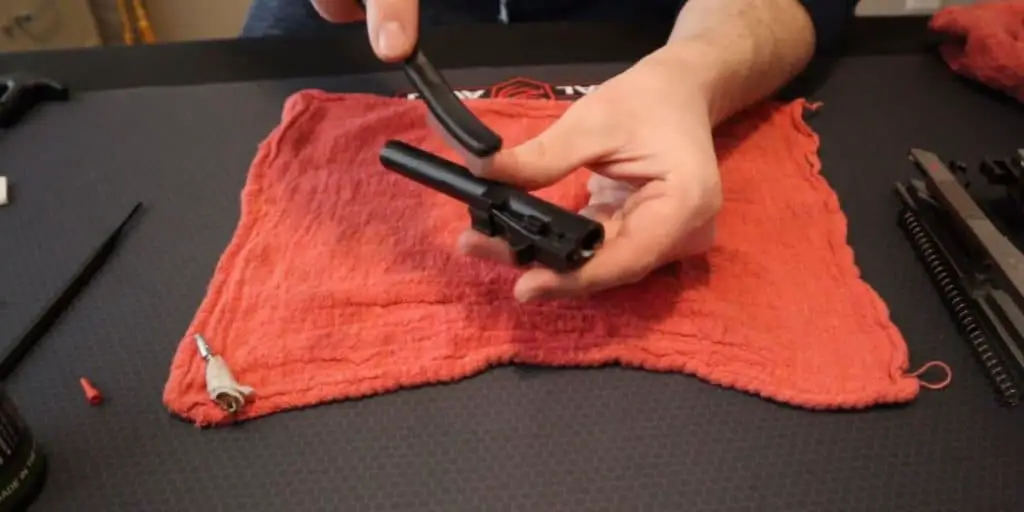
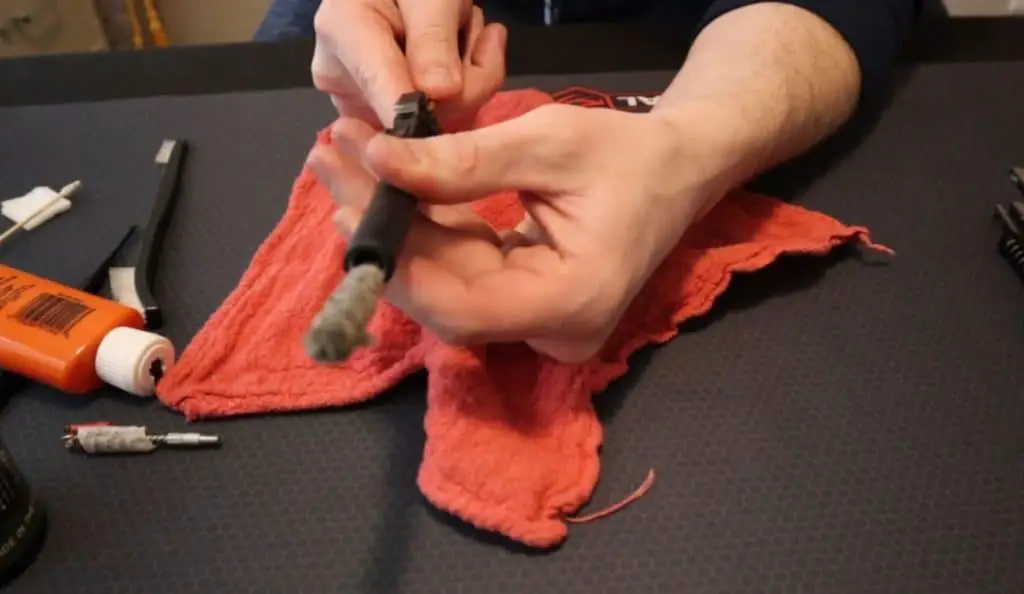
Finish Cleaning The Barrel
The outside of the barrel doesn’t usually get super dirty, but I like to spray it with cleaner and scrub it with a brush anyway. Now the locking block will get really dirty so make sure to give it extra attention.
Spray heavily with cleaner and scrub with a brush. To get under the locking block you may need to use cotton swabs or patches and a cleaning pick.

Keep spraying with cleaner and scrubbing until a rag comes away clean after wiping the locking block and barrel.
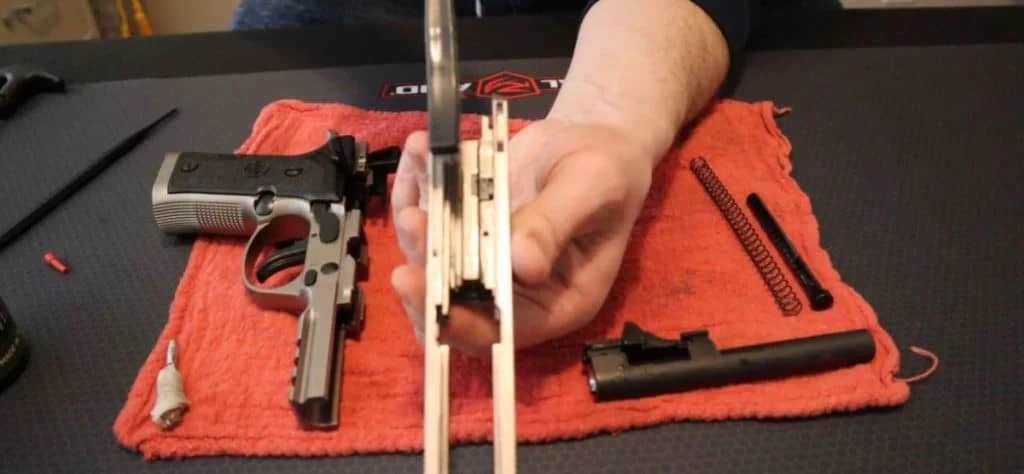
Now that the inside of the barrel has been sitting with cleaner in it, it will be easier to clean. Use the cleaning rod and a bore brush to continue cleaning the barrel.
Push the bore brush through the barrel in the same way a bullet would be fired through it.

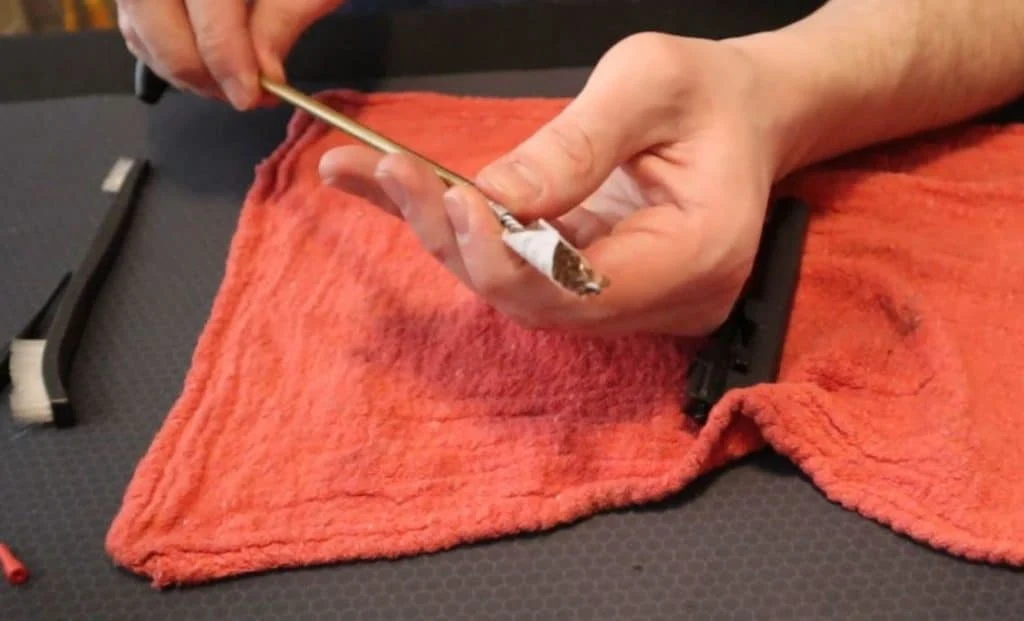
I like to wrap a patch around the bore brush and soak it with bore cleaner for this part. Repeat this process until the patch comes out clean, it could take more than a few passes.
You will need to replace the patches and add more cleaner until you can run a brush through and it comes out pretty clean.
When the barrel is clean enough for your liking, send another patch through on a bore brush, but this time don’t add any cleaner.
The point now is to get all the cleaner out of the barrel. So the inside of the barrel should be dry after this step.
Lubricate The Handgun
If you’ve been using a CLP or combination cleaning/lube the gun may be already oiled enough, or you’ve wiped most of it off. If you’re using a cleaner, like I do, the the weapon should be dry.
Either way, I like to go back and oil the parts that need it. I start with the barrel since that’s the last thing I was cleaning usually.
Run a cloth brush through the barrel with a little gun oil on it using the cleaning rod. You could also use the bore brush still with a clean patch that you’ve put a little oil on.
If you plan on storing the weapon for a long time, stop there. Just remember to run a dry patch through to get the oil out of the barrel before you shoot it next time.
You don’t want to shoot the weapon with too much oil in the barrel, it could cause problems.
I shoot often enough that I just get the oil out as I’m cleaning. Take a dry patch, or dry off the cloth bore brush, and pass that through the barrel to remove any excess oil.
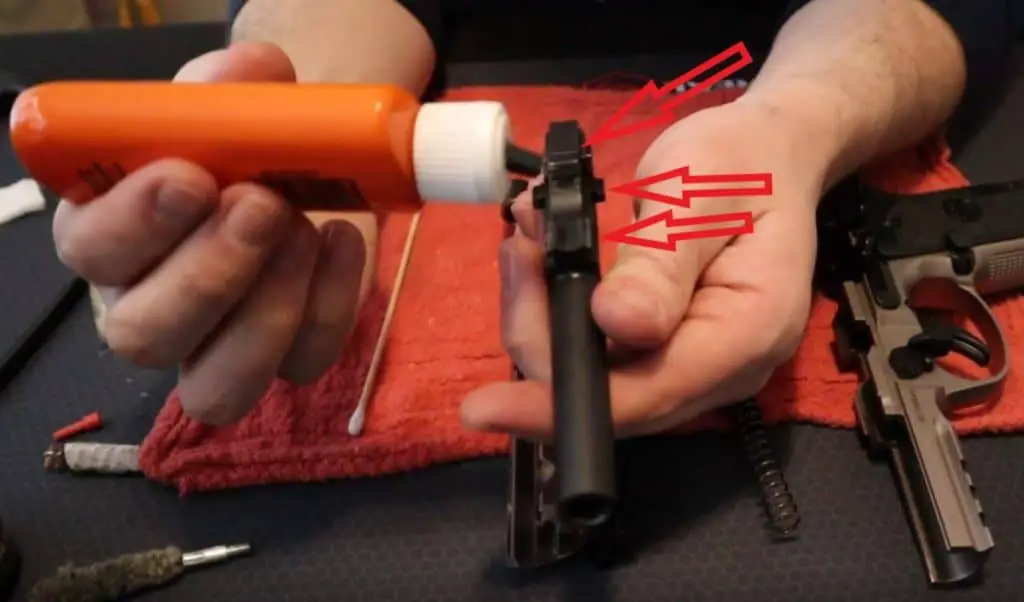
For the back of the frame, all you need is one drop of oil for those rear components. Just put one drop in the top, and the oil will work its way through that area for you.
Then add a drop of gun oil to the receiver/frame where the slide makes contact and back where the locking block sits.
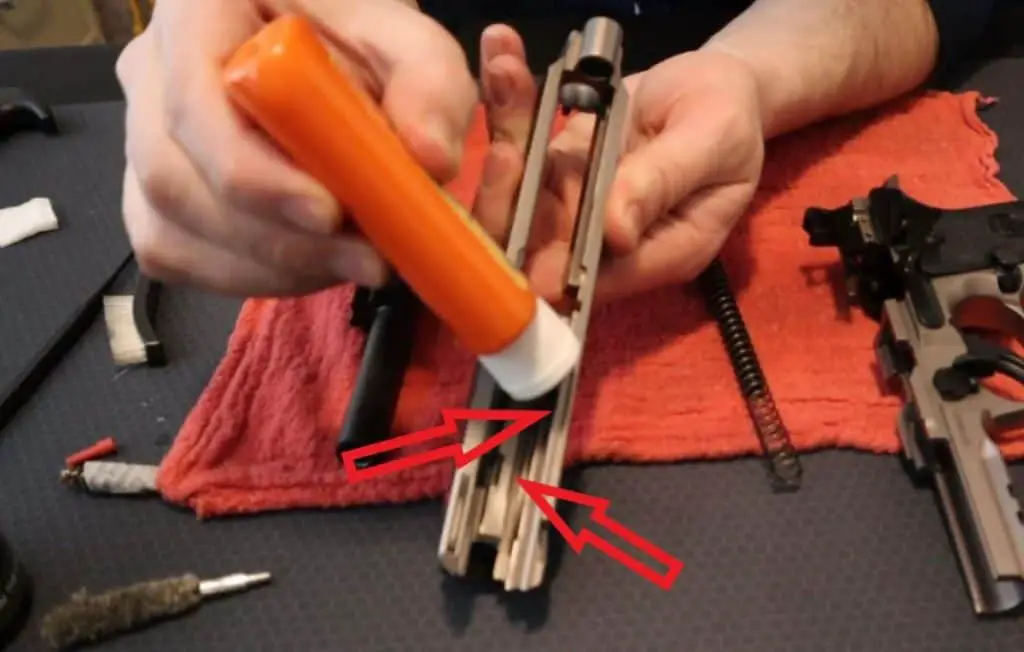
For the slide, just make sure to get a drop of oil inside the grooves where the slide contacts the frame. I’ll also add a drop on the inside area of the top of the frame.
The guide rod and recoil spring are already lubricated if you cleaned them with a bit of gun oil before.
To lubricate the locking block, just put a drop of oil on each of the protruding guides and on top of the locking block itself.
I also like to put a light coat of oil on the outside of the barrel. It can help to reduce some of the wear on the barrel where the slide makes contact. It’s not necessary for the weapon to function properly though.
Reassemble The Handgun
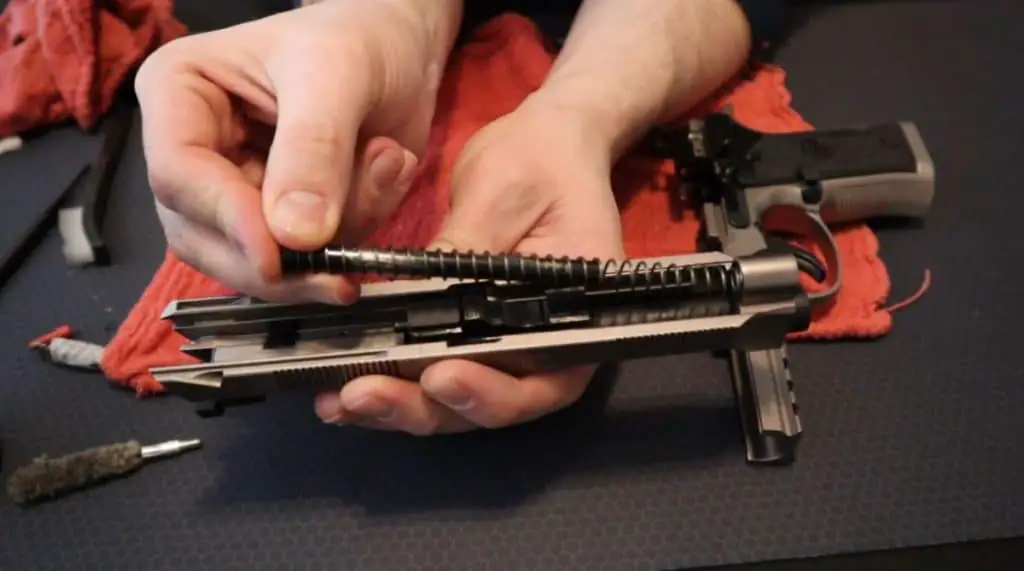
You can now reassemble the firearm the same way you disassembled it. Start by putting the barrel back into the slide and seating it in place.
Then you can insert the recoil spring and guide rod assembly into the slide. The back of the guide rod will rest on a ledge on the locking block and be help in place with spring tension.
Bring slide back onto the frame and pull it back a quarter inch at least so you can rotate or set the takedown back into place. The take down will hold the slide onto the frame.
At this point, I like to take a clean rag and just wipe down the outside of the firearm. Rack the slide back and forth a little bit, and wipe up any oil that is seeping through the trigger area and magazine well.
Moving the slide back and forth will also move that oil around and help to lubricate the firearm for you.
Functions Check The Handgun
This step is important to ensure your firearm is still operating and is safe to use after having been disassembled. There’s a couple things you want to make sure still work.
The gun won’t fire when the safety is on:
- Toggle the safety lever to safe
- Pull the trigger a few times
- The weapon should not fire
The gun will fire when the safety is off:
- Toggle the safety lever to fire
- The trigger can be pulled
- The weapon can be fired
The trigger reset is still functional:
- Hold the trigger down
- Charge the weapon (rack the slide)
- Slowly release the trigger
- You should hear a click sound
- The weapon will fire if you pull the trigger after hearing the click sound
After a few times of cleaning a handgun using these steps, you’ll start to memorize the process and get faster at doing it.
Check out my Best Gear To Clean And Lubricate A Firearm article to see what I use and where you can find this stuff at a decent price.